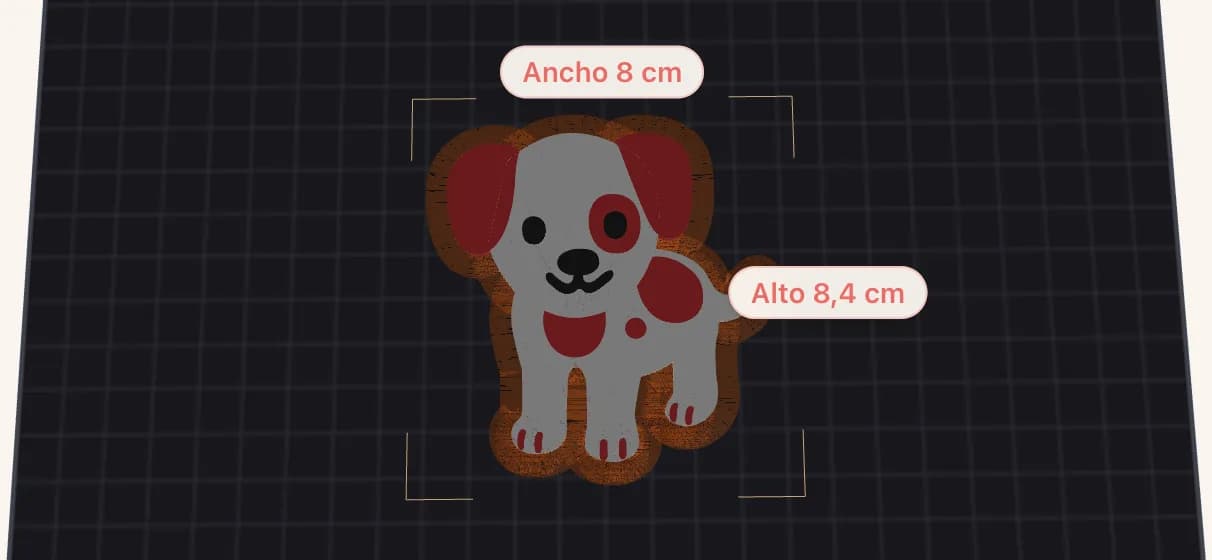
Converting SVG to STL means turning a vector drawing into a 3D printable model. It is useful when you want to make a physical object from a logo, icon or silhouette: a small sign, magnet, badge or keychain.
At Pulpo 3D this is built into the quote flow. Upload the SVG, adjust the part, preview it in 3D and continue with the quote without opening CAD software.
What file do you need?
The starting point must be an SVG: a vector file made of shapes and outlines. The result is an STL, which is the 3D model used for printing.
If you only have a PNG or JPG, convert it to SVG first. Online vectorizers can work well for simple logos and silhouettes, but the result should always be checked.
Works well:
- clean logos
- simple icons
- clear silhouettes
- large text converted to outlines
- flat designs for signs or keychains
Often causes problems:
- photos converted automatically
- shadows, gradients and transparency
- very small text
- very thin lines
- noisy SVG files with too many tiny shapes
How the Pulpo 3D converter works
1. Upload the SVG
Open the quote flow and upload the SVG as you would upload a 3D model.
2. Check the original SVG
The converter shows the original vector so you can confirm it looks right. If it detects possible issues such as masks, filters, styles or transparency, it shows warnings.
3. Set the final size
You can set width or height in millimeters. The other dimension is calculated automatically to preserve the proportions.
4. Choose the model type
There are two main modes:
Simple extrudes the SVG as one solid piece. This works for silhouettes, compact icons and designs that already make sense as a single shape.
Expanded base creates a slightly larger base with the SVG as raised relief. This is usually better for logos, signs and keychains because it makes the part easier to read.
5. Adjust thickness, base, relief and keyring loop
You can tune the depth of the base and relief. If you want a keychain, add a loop directly in the converter instead of editing the model by hand.
6. Add it to the quote and choose colors
Once the preview looks right, add the model to the quote. Simple pieces use one color; expanded-base pieces can use separate base and relief colors.
Quick recommendation
Use simple mode for compact silhouettes and icons. Use expanded base for logos, signs and keychains, especially when readability matters.
If you already have an SVG, try it directly in the quote flow.